
Guide
How to Turn a Photo into a Cartoon (and Cartoon Yourself)
There are six honest ways to do it, from a phone filter that takes seconds to tracing by hand over an evening. Pick by how much time you have, how close the likeness has to be, and whether your cartoon self needs to star in a whole story.
Updated 12 min read
Step 1
Compare the six methods side by side
Every method trades time for control. Whether you want to make a picture into a cartoon for a laugh or build a character you will draw again and again, the table compares the six things people ask about most. If you only need one picture today, rows 1 and 2 are enough. If the cartoon of yourself has to appear in a story, the last row is what an AI cartoon generator like ours is built for.
Phone filter app
A quick, fun profile picture
- Time
- Under a minute
- Skill
- None
- Looks like you?
- High, it is still your photo with a look on top
- Cost
- Free tiers; extra styles often need a weekly or yearly plan
- Uploads your face?
- Often yes. Check the app's policy
- Works for a whole story?
- No, one photo at a time
One click website
One image, no install
- Time
- 1 to 2 minutes
- Skill
- None
- Looks like you?
- Varies a lot; some results look nothing like the photo
- Cost
- Free tiers often add a watermark or run out of credits
- Uploads your face?
- Yes, to the site's server
- Works for a whole story?
- No, each photo is a separate result
Photoshop or GIMP filters
Control and exact settings
- Time
- About 20 to 40 minutes the first time
- Skill
- Some: layers and filters
- Looks like you?
- High, built from the photo itself
- Cost
- GIMP is free; Photoshop is a subscription
- Uploads your face?
- No, the filters run on your computer
- Works for a whole story?
- Only by repeating the recipe on a new photo for every scene
Trace it by hand
People who draw, or want to learn
- Time
- 1 to 3 hours or more
- Skill
- Drawing practice helps a lot
- Looks like you?
- As close as you draw it
- Cost
- Free with paper, or a drawing app you already have
- Uploads your face?
- No
- Works for a whole story?
- Yes, if you can redraw the same face in new poses
AI tool with a photo reference
New drawings, fast
- Time
- A few minutes, plus retries
- Skill
- Low: writing a clear description
- Looks like you?
- Close to loose; it changes from image to image
- Cost
- Free tiers or credits
- Uploads your face?
- Yes, to the tool and often to an outside AI service
- Works for a whole story?
- Hard, the face tends to drift between images
ComicIdeas character sheetOur tool
Putting the cartoon you in a comic
- Time
- A few minutes for the sheet, then a minute or two per panel
- Skill
- Low: upload, describe, pick a style
- Looks like you?
- Close, not exact. Redraw the sheet until it feels right
- Cost
- Free to start with 100 credits; a panel costs 2 to 6 credits, a sheet about twice that
- Uploads your face?
- Yes, see the privacy section for exactly what happens
- Works for a whole story?
- Yes, the sheet goes with every panel
One character sheet, three panels
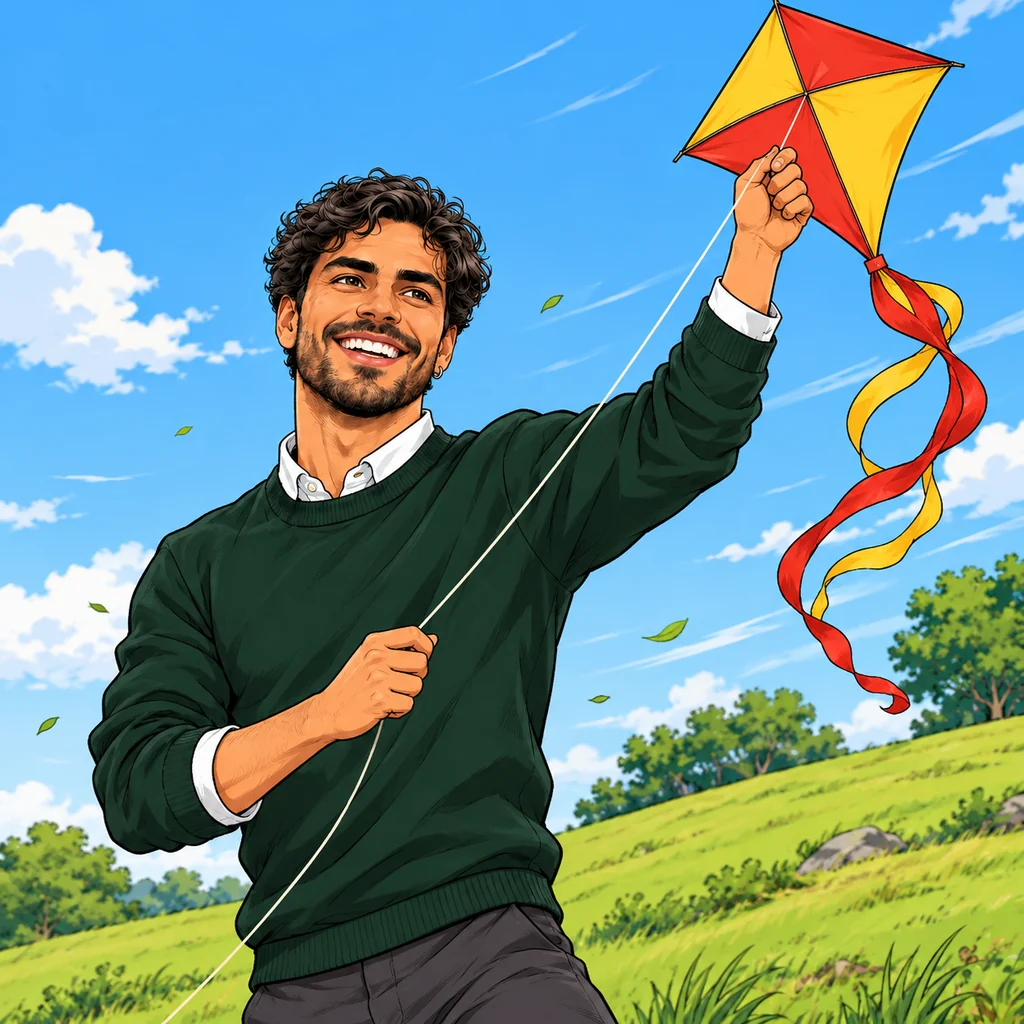
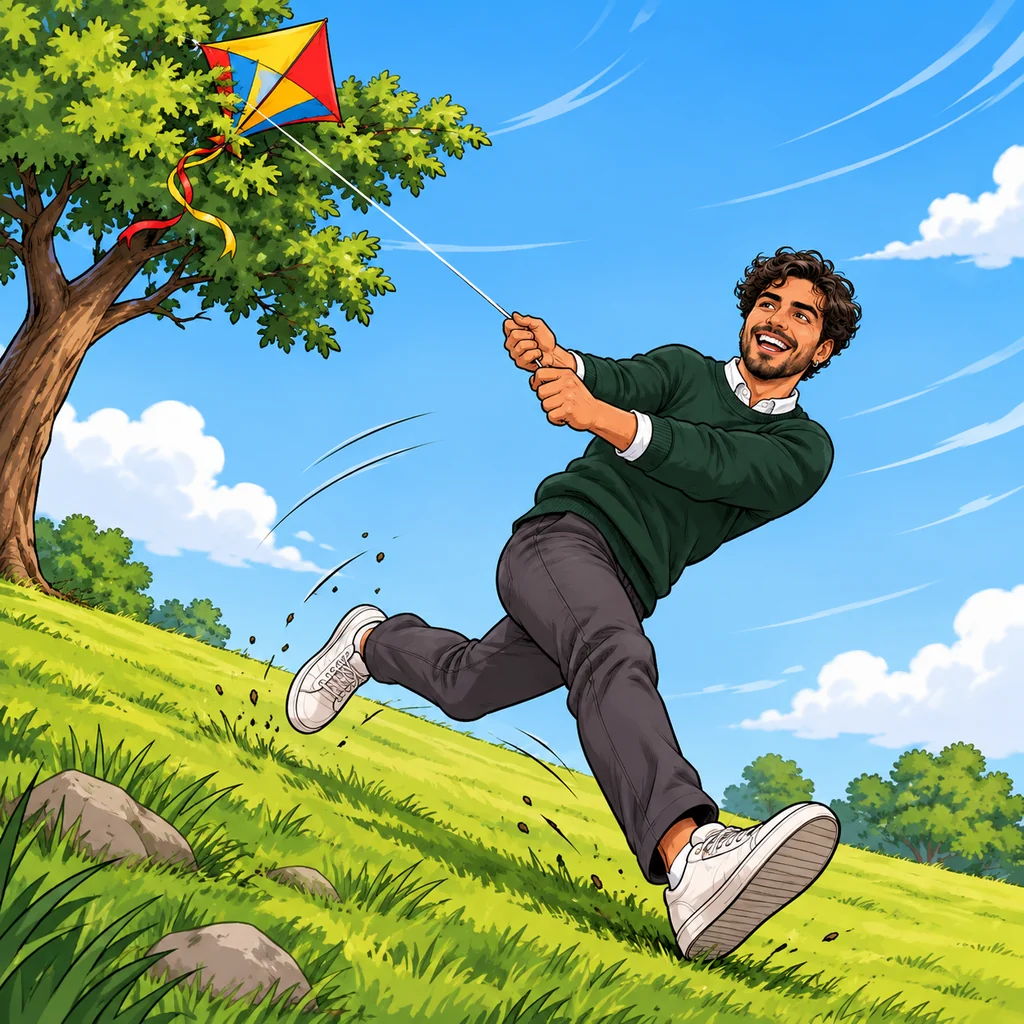
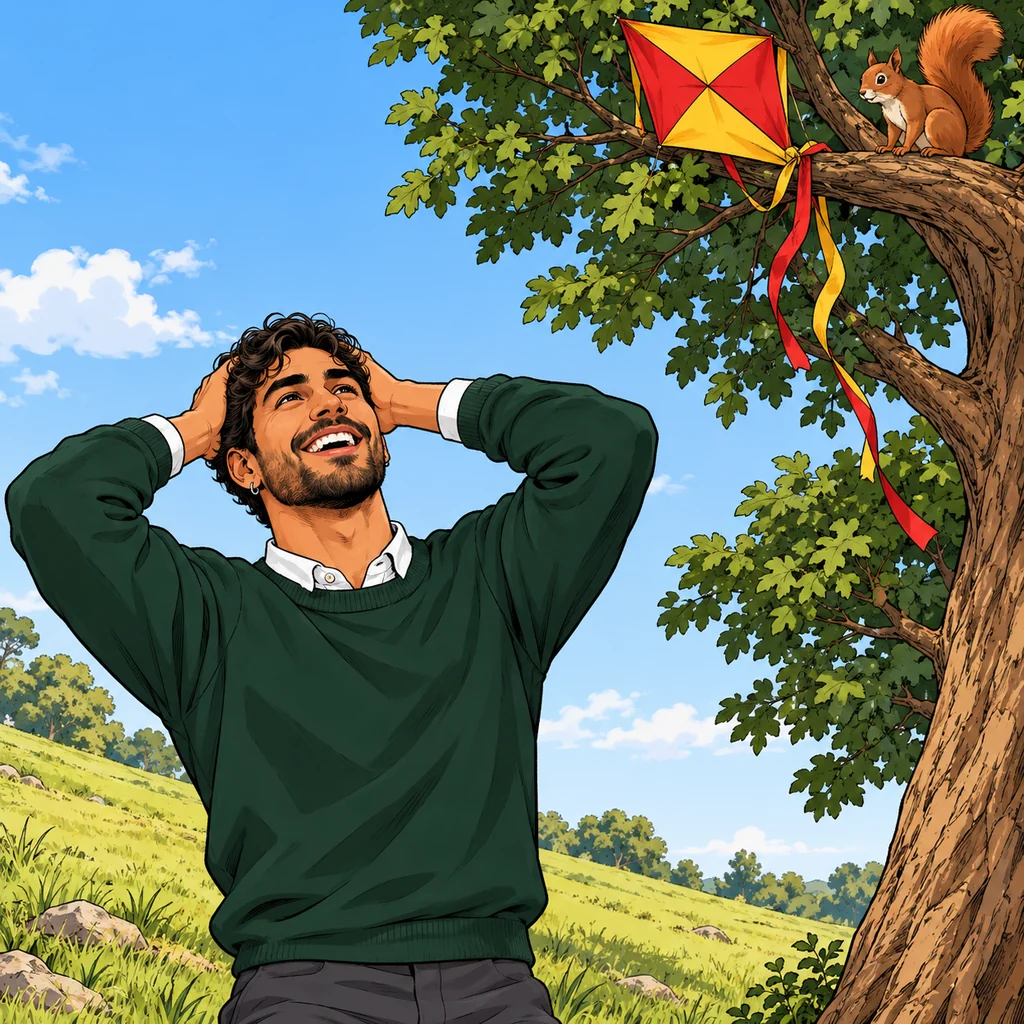
Times and costs are rough guides from typical use, not measurements. Prices of outside apps change often, so check before you pay.
Step 2
Will it look like me? Start with the right photo
The photo matters more than the tool. Filters, tracing and AI all copy what they can see, so a blurry or shadowed face turns into a cartoon of a stranger. Here are four photos of the same person, Ravi, and what each does to the result.
 Good
Soft light from the frontEven light on both cheeks and a plain wall, so face shape and skin tone read clearly.  Good
A second angle helpsSame light, turned a little. It shows the nose and jaw line a front photo hides. 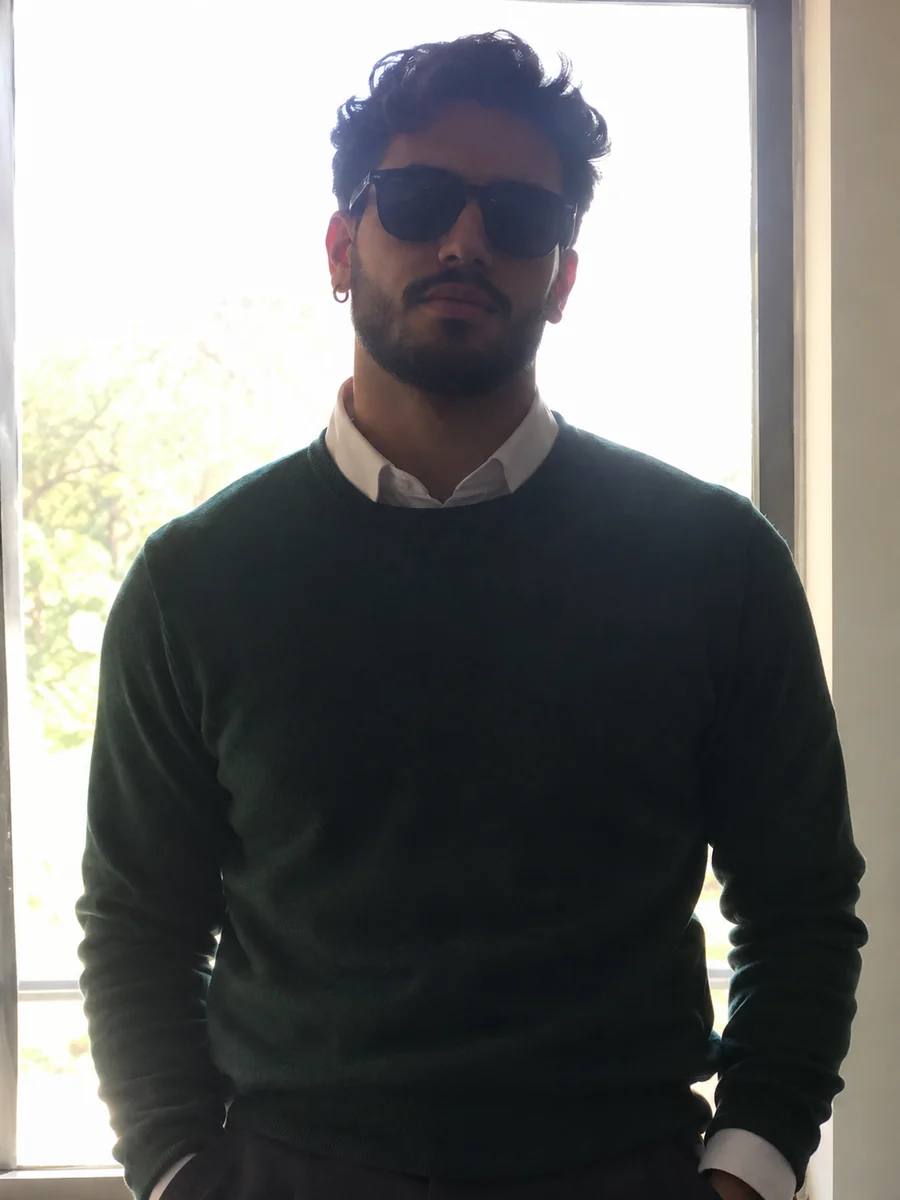 Avoid
Backlight and sunglassesThe window puts his face in shadow and the lenses hide his eyes, which carry most of a likeness. 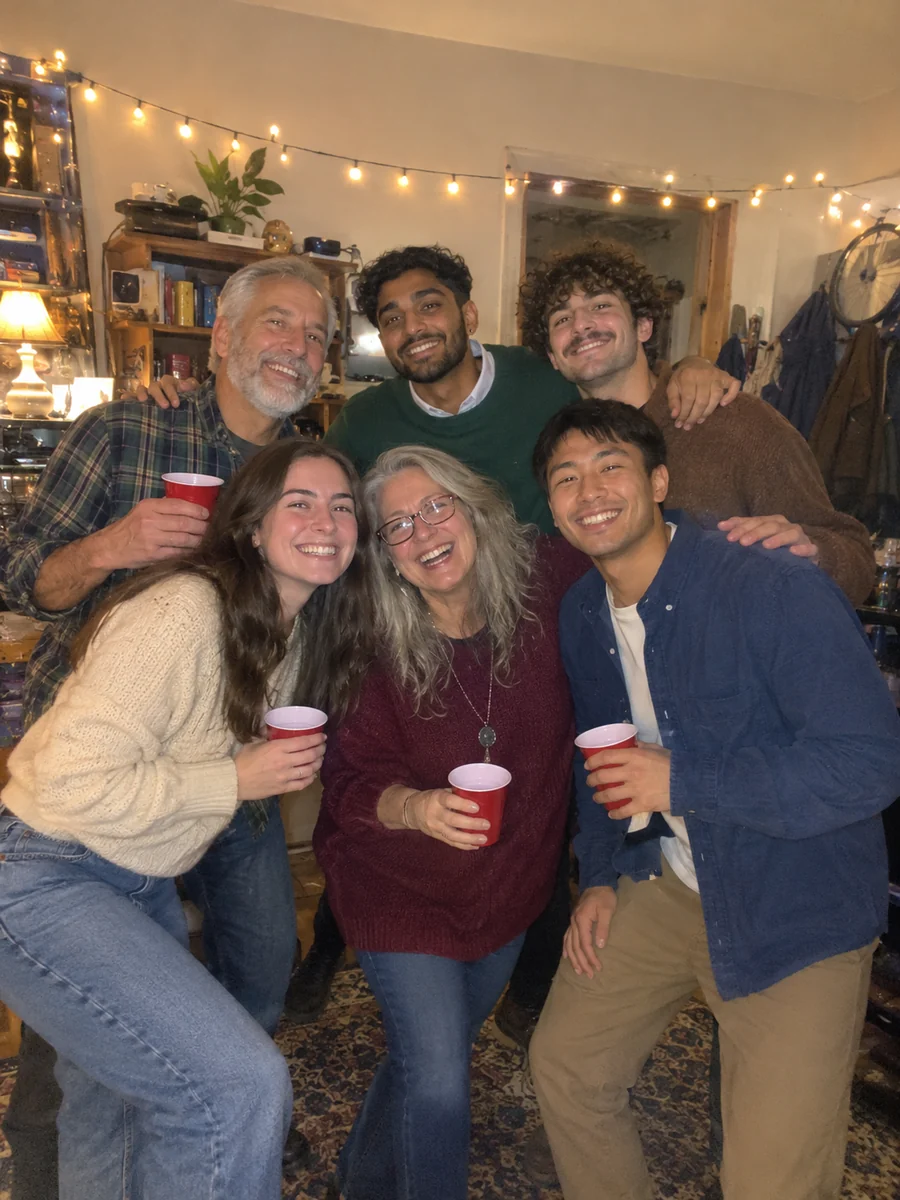 Avoid
A busy group shotHis face is small, one of six, so any tool has to guess who to cartoon.
Photo checklist for any method
- The face is sharp and fills a good part of the frame
- Soft, even light from the front, no bright window behind
- A plain background, which also makes filters much cleaner
- One person per photo; crop a group photo down to one face
- No sunglasses. Everyday glasses are fine if you always wear them
- A recent photo at full size, not a screenshot of a screenshot
- For AI tools, add a second angle. Our character library takes up to 6 reference images
Only use photos of yourself, or of people who said yes.
Step 3, the do it yourself route
Photoshop and GIMP recipes with exact settings
One filter on its own tends to look like a filter. These recipes stack a few so you get flat color shapes plus dark outlines, the two things that make a picture read as a cartoon. Start with the numbers, then adjust by eye. Use the copy button to keep the recipe next to your editor.
The Poster Edges numbers come from a widely shared tutorial written for the 2019 version; the other numbers are our starting points. Menu names may differ in your version.
- 1
Layer > Smart Objects > Convert to Smart Object
Open the photo and convert the layer first, so every filter stays editable and you can change it later.
- 2
Filter > Filter Gallery > Artistic > Cutout
Flattens the photo into a few areas of solid color.
- Number of Levels6
- Edge Simplicity4
- Edge Fidelity2
- 3
Filter > Filter Gallery > Artistic > Poster Edges
Adds the dark cartoon outlines along edges.
- Edge Thickness10
- Edge Intensity10
- Posterization2
- 4
Image > Adjustments > Threshold
On a fresh copy of the original photo, turn it into pure black ink, move it to the top and set its blend mode to Multiply.
- Threshold Level120 to 140
- 5
Filter > Stylize > Oil Paint (optional)
Smooths skin and fabric into painted strokes. Keep it subtle or it starts to look like a painting.
- Stylization2
- Cleanliness5
- 6
Layers panel > Blend mode > Color Burn
Duplicate the color layer, set the copy to Color Burn and lower its opacity to deepen the colors.
- Opacity30 to 50%
Still not cartoon enough? Lower Cutout levels for flatter color, or paint over the eyes and mouth by hand. Filters alone often look unconvincing, and a few minutes of brushwork usually does more than one more filter.
Want a look no filter gives you, such as classic animation or a picture book style? Browse the comic art styles guide for what each style looks like.
Before you upload
What happens to the face you upload
Most phone apps and websites send your photo to a server to process it. Only desktop filters and tracing keep it on your own computer. Before you upload a face to any tool, find these three answers in its privacy policy. A claim on a sales page is not an audit, so the policy text is what you hold a tool to.
Ask any tool 1
Is my photo kept, and can I delete it?
Some tools keep uploads to show them back to you, some delete them after processing. The policy should say which, and for how long.
Our answer
Your photo is saved to our cloud storage so it can be reused when you redraw the sheet. The file is named from its contents, not your name, but anyone with the exact link can open it. You can remove a photo from a character, or delete the whole character from your library. That removes it from your library, but it does not erase the stored image file at the same time. Contact us if you want the file itself erased.
Ask any tool 2
Is it used to train AI?
Some apps have reserved the right to train on uploads. Look for a plain yes or no, and a way to opt out.
Our answer
No step in our product feeds your uploads into model training. The drawing itself is done by an outside image service, so its terms also apply to that step.
Ask any tool 3
Which outside service gets my photo?
Many apps pass your photo on to a third party AI service, and that service's rules decide how long it lives there.
Our answer
Only the step that draws your character sheet sends the photo, as a link, to the outside image service. Once the sheet exists, panels are drawn from the sheet, not from your original photo. You need a signed in account to upload.
Checked against our product on November 21, 2026. If a tool cannot answer these three questions, use a method that never uploads: desktop filters or tracing.
Step 4, use it in a story
From your photo to a cartoon character who stays the same
If the cartoon of yourself is meant to star in a comic, one picture is not enough: each new image tends to draw a slightly different face. Here you upload the photo to a character, get a cartoon character sheet drawn from it, and that sheet goes with every panel you draw.
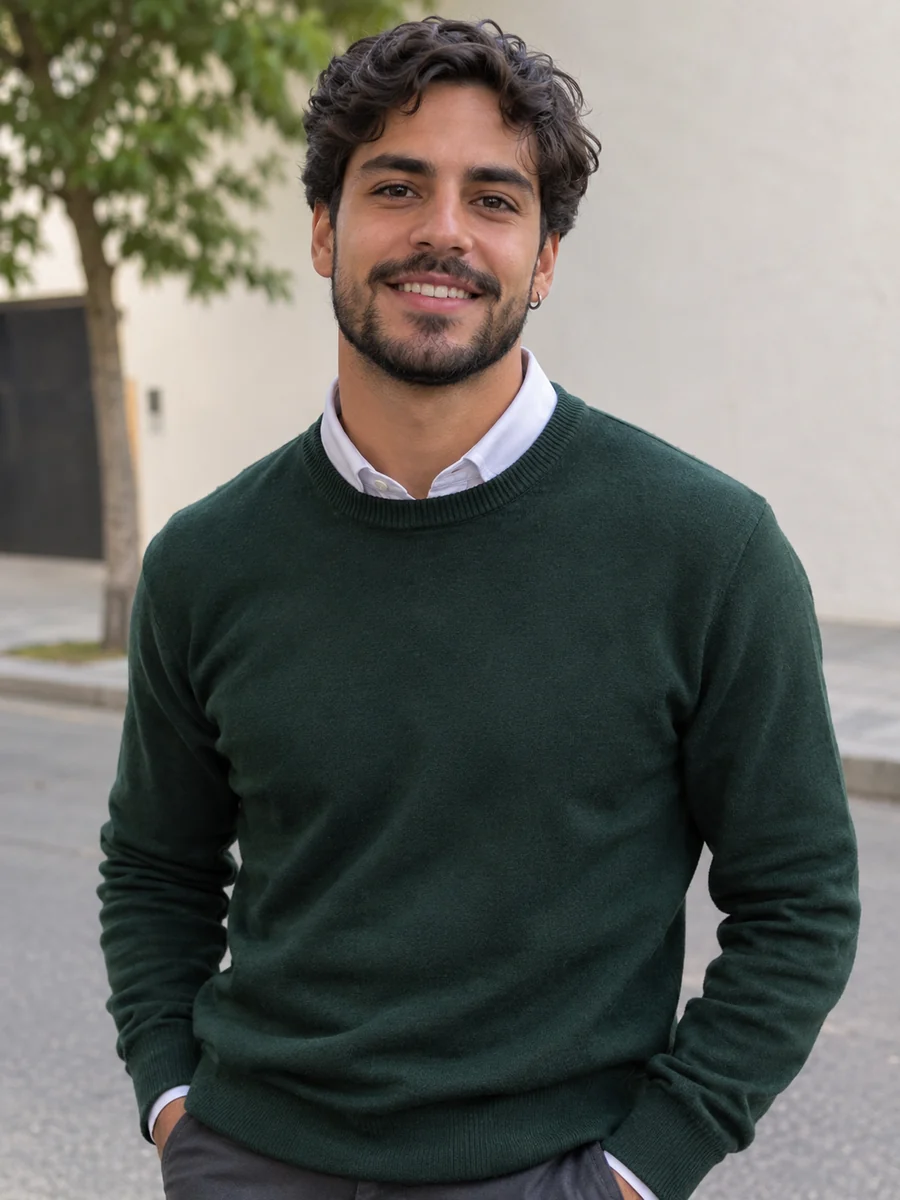 1Your referenceUpload a photoAdd up to 6 reference images to a character in your library. A clear front photo in soft light works best.
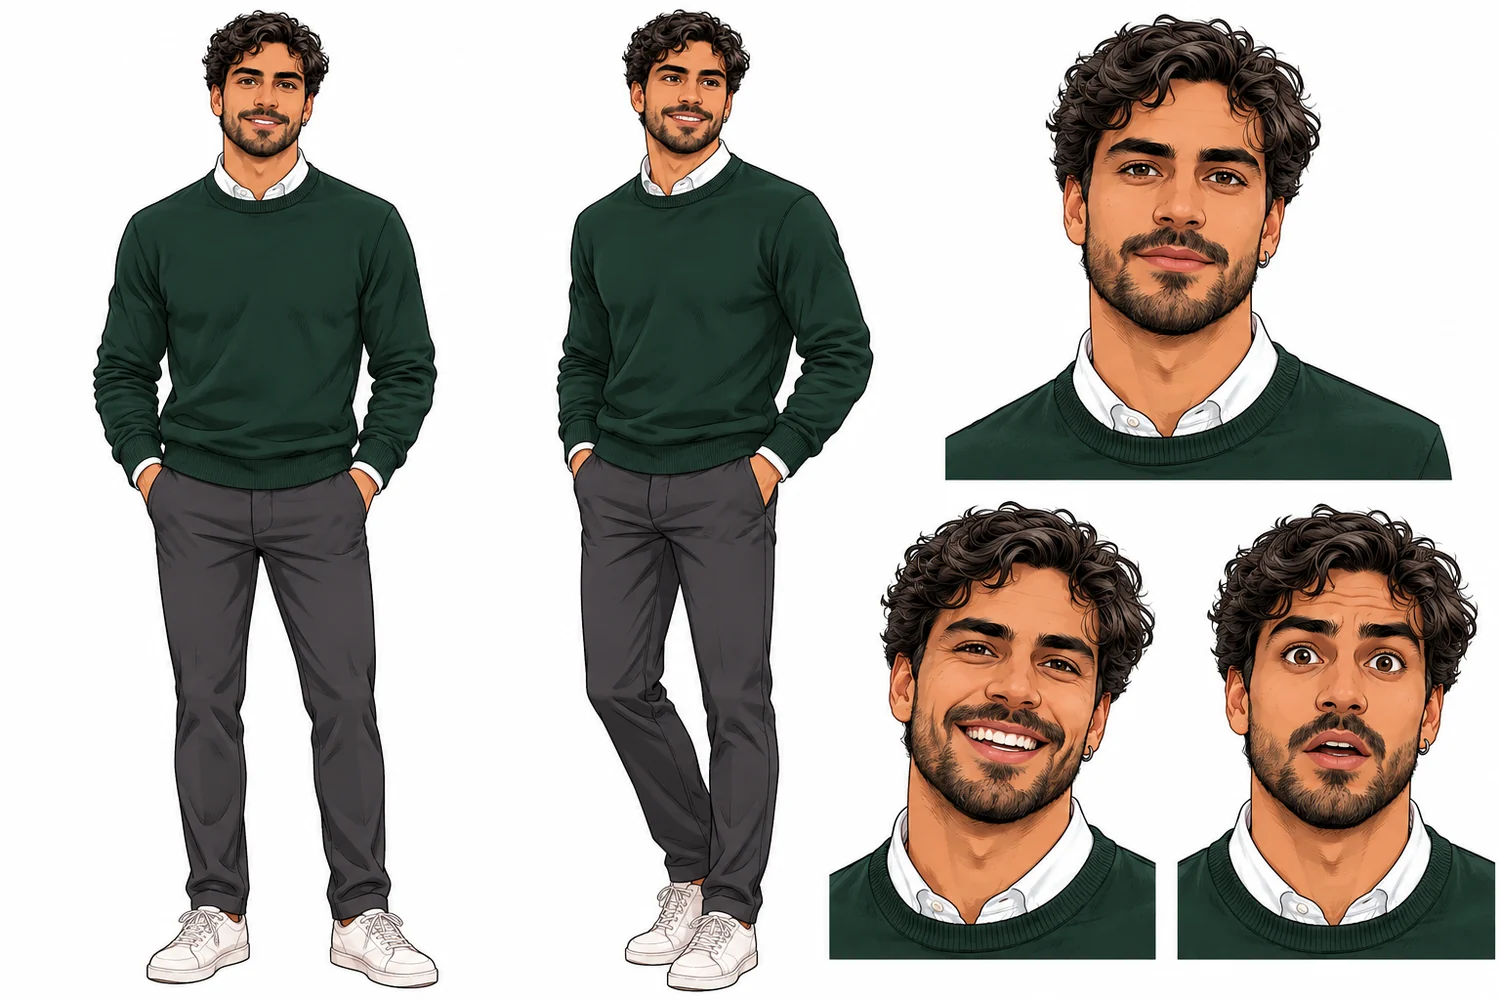 2Character sheetGet a cartoon character sheetFront view, three quarter view and three expressions, in the cartoon style you pick. Redraw it until it looks like you.
- Homemade kite. Perfect wind. What could go wrong?3In your storyPut the character in any sceneWrite the story and draw the panels. The sheet goes with each one, so the face, hair and sweater stay the same.
This is not a one click photo filter. You get a new cartoon drawing of the person, made to act in a story, and the likeness is close rather than exact. Only upload photos you have the right to use.
Stuck?
Fixes for the five most common problems
When a cartoon goes wrong it is almost always one of these. Find your problem, then the fix for the method you used.
Pets
Fur, odd angles and a subject that will not sit still confuse tools built for human faces. One app reviewer summed it up as worthless for pets.
- Filters and sites
- Use a photo where the pet looks at the camera in daylight, and try a style made for animals if the app has one.
- Photoshop or GIMP
- Filters work on any photo. Raise Cutout or Posterize levels a little so the fur keeps some texture.
- By hand
- Simplify fur into a few big clumps and exaggerate the ears, eyes or tail that make your pet yours.
- AI with a photo
- Make the pet its own character with its own photo, describe the breed, colors and markings in words, and check the sheet before you draw panels.
Group photos
Most tools look for one face. In a group shot every face is small, and some tools pick one person or blend them.
- Filters and sites
- Crop to one person, cartoon each crop, then place the results side by side.
- Photoshop or GIMP
- The filters run on the whole image, but small faces lose detail. Work on a cropped copy per person.
- By hand
- Trace one person at a time on separate layers, then line them up.
- AI with a photo
- Give each person their own character and photo. One cartoon here can have up to 6 characters, each with its own sheet.
Wrong skin tone
Beauty smoothing, warm indoor light and backlit photos all shift skin tone, and some cartoon styles lighten or darken it further.
- Filters and sites
- Turn off beauty or smoothing options and start from a daylight photo.
- Photoshop or GIMP
- Lower the Color Burn opacity or skip that step, and check that Cutout did not merge skin into the background.
- By hand
- Pick the skin color from a mid tone on the cheek, not from a highlight or a shadow.
- AI with a photo
- Write the skin tone in plain words in the description, such as warm medium brown, then redraw the sheet. The written description goes with every panel too.
Too realistic
It still looks like a photo with a filter. Cartoons simplify: fewer lines, flatter color, bigger features.
- Filters and sites
- Choose a style with outlines and flat color, not one that only shifts the colors.
- Photoshop or GIMP
- Lower Cutout Number of Levels to 3 or 4, or Posterize levels to 4, so color goes flatter.
- By hand
- Draw fewer lines. Simplifying detail gives the cartoon look; copying every detail gives realism.
- AI with a photo
- Name a clearly drawn style, such as flat cartoon or classic animation. For an anime look, start from an anime character sheet instead.
Glasses or hats
Sunglasses hide the eyes and hats hide the hairline, so the cartoon has to guess. Shiny lenses can blur the eyes too.
- Filters and sites
- Use a photo without sunglasses or a hat, with glasses tilted slightly down to cut the glare.
- Photoshop or GIMP
- Filters often break thin frames. Paint the frames back in by hand on the outline layer.
- By hand
- Draw the frames as one bold shape. The overall shape reads as you more than the exact frame does.
- AI with a photo
- Upload a photo with your everyday glasses and write them into the description, such as round black frames, so every panel keeps them. Leave hats out unless they are part of your look.
Photo to cartoon FAQ
Put the cartoon you in a comic
Upload your photo to a character, draw the sheet, then make a strip where you look the same in every panel. Scripts are free and you start with 100 credits.
Make my cartoon character